
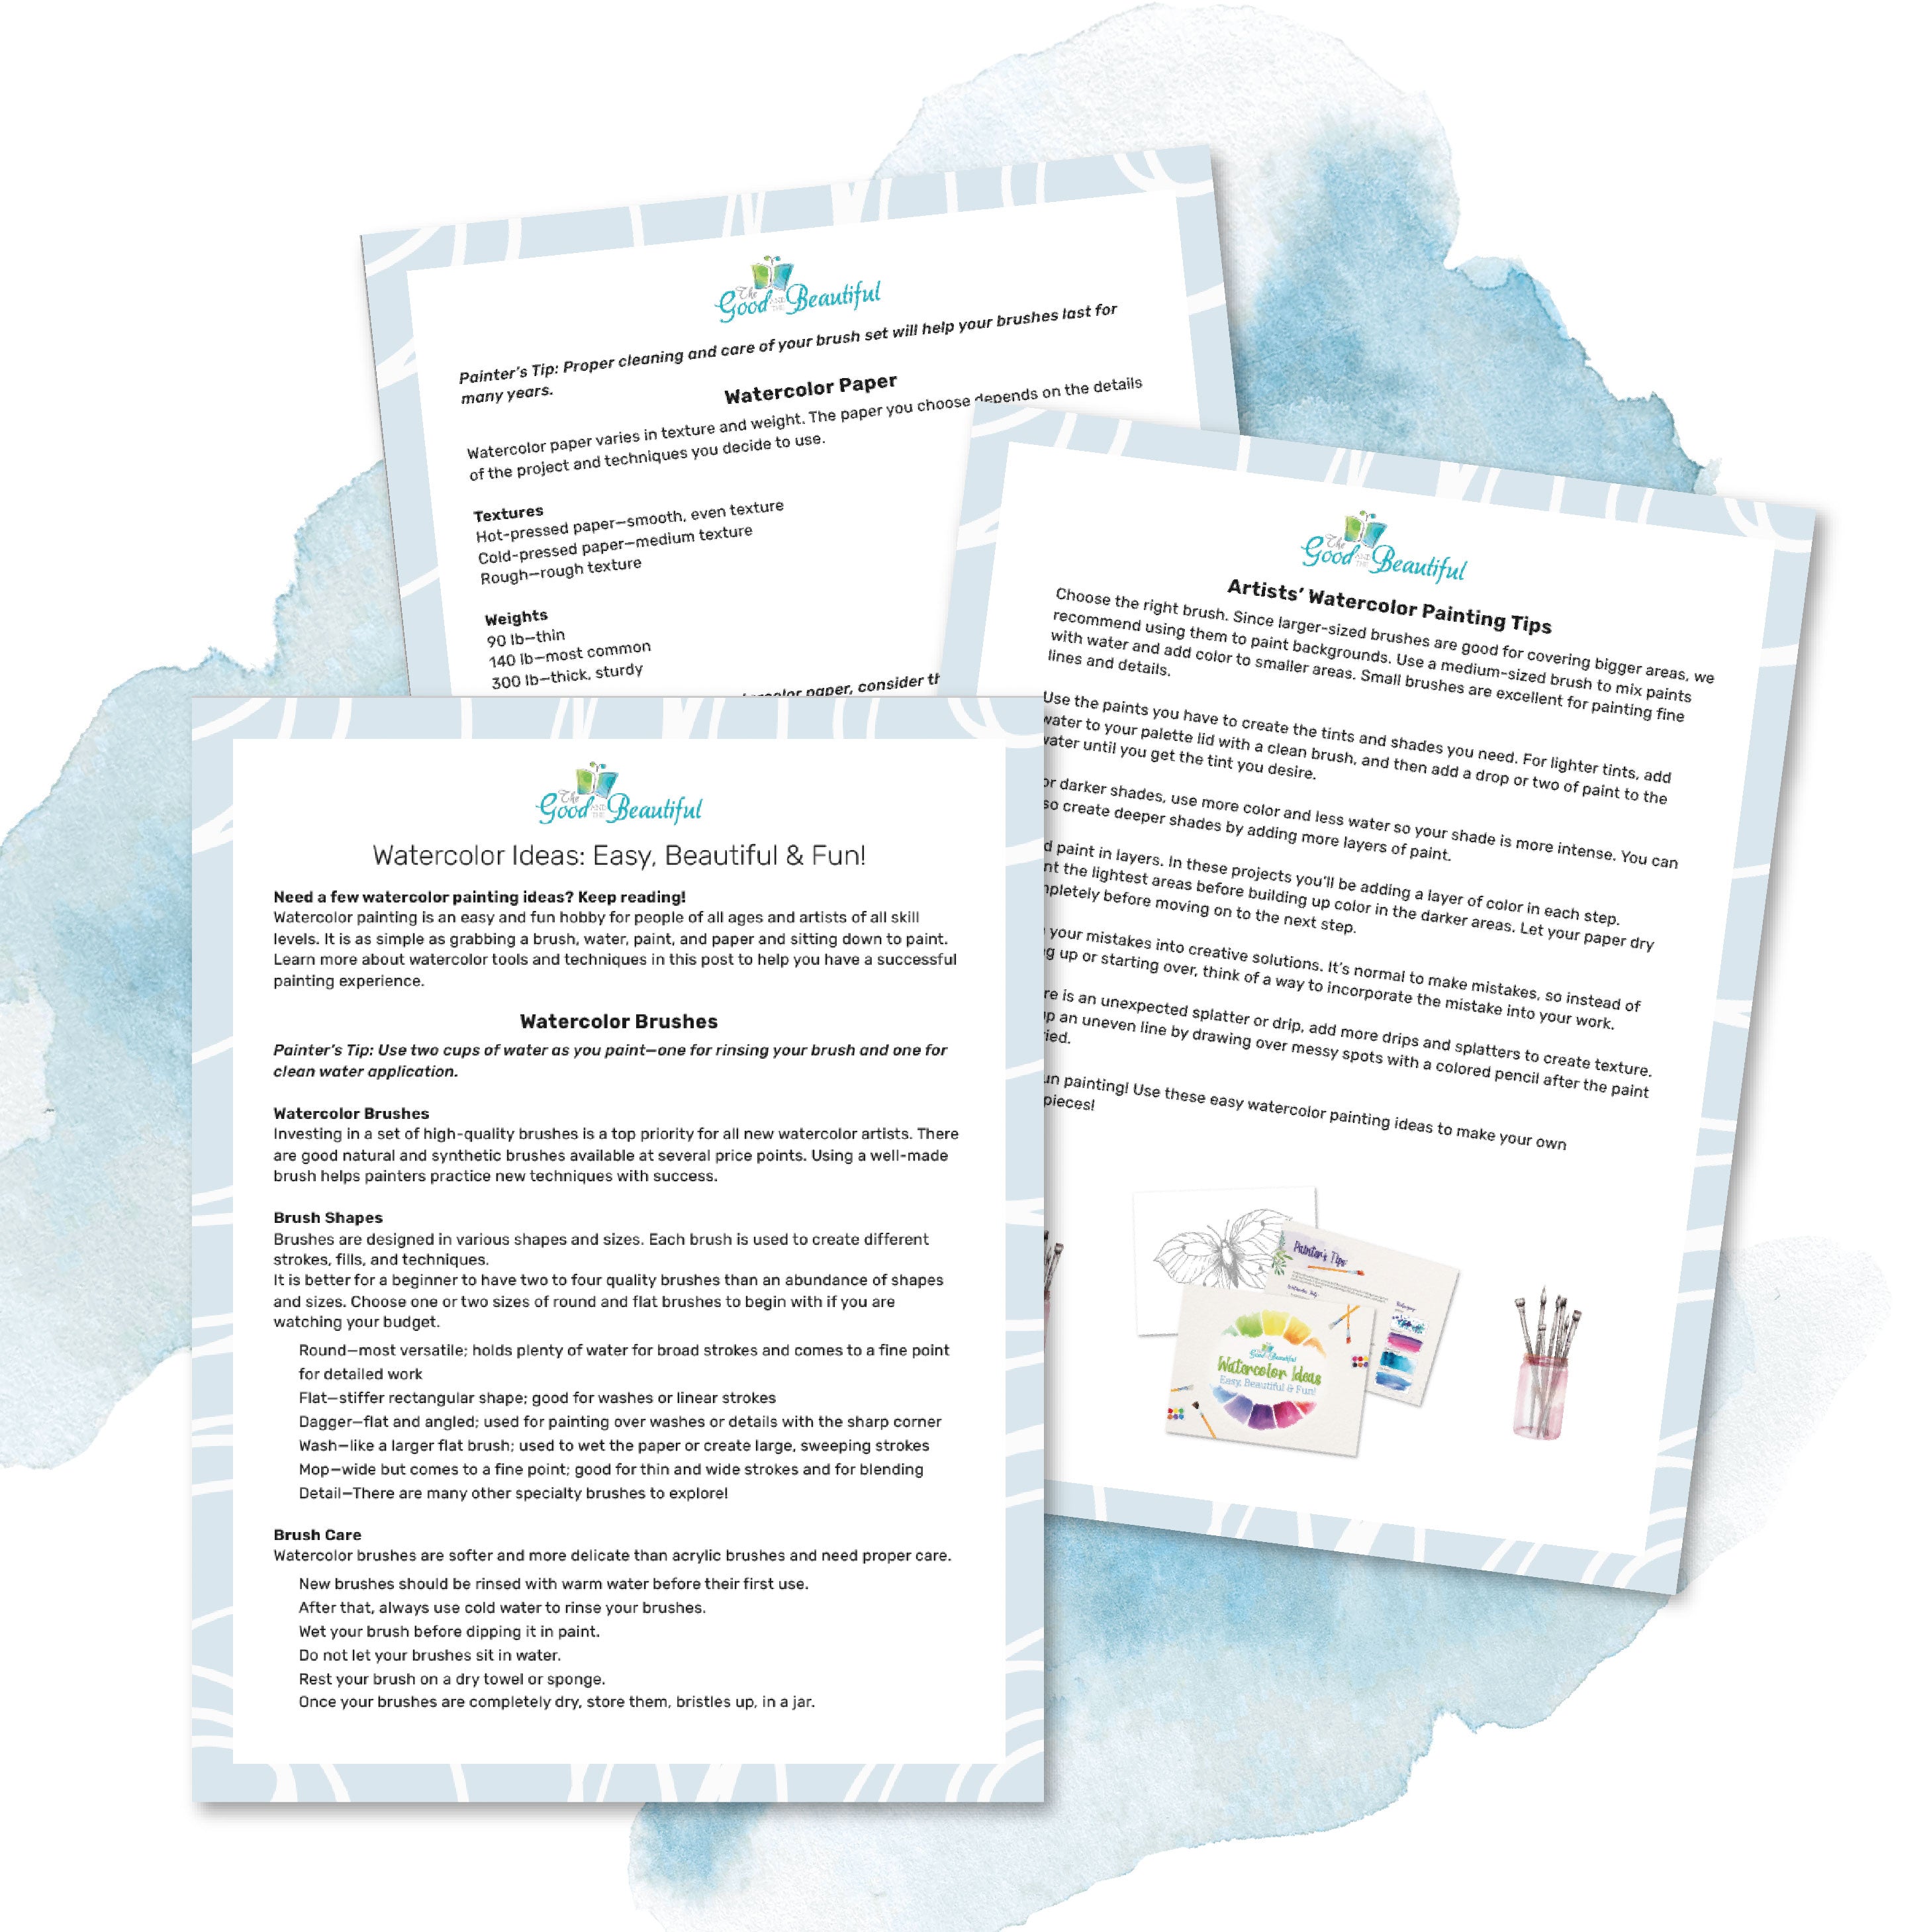
Watercolor Brushes

Proper cleaning and care of your brush set will help your brushes last for many years.

Watercolor Paper
Watercolor paper varies in texture and weight. The paper you choose depends on the details of the project and techniques you decide to use.
Textures
- Hot-pressed paper: smooth, even texture
- Cold-pressed paper: medium texture
- Rough: rough texture
Weights
- 90 lb: thin
- 140 lb: most common
- 300 lb: thick, sturdy
When choosing watercolor paper, consider the erasability of the paper. Watercolor artists will often sketch outlines on their paper before painting.
Being able to completely erase marks on the paper without damaging the paper helps to create a beautiful final product.
Watercolor Techniques
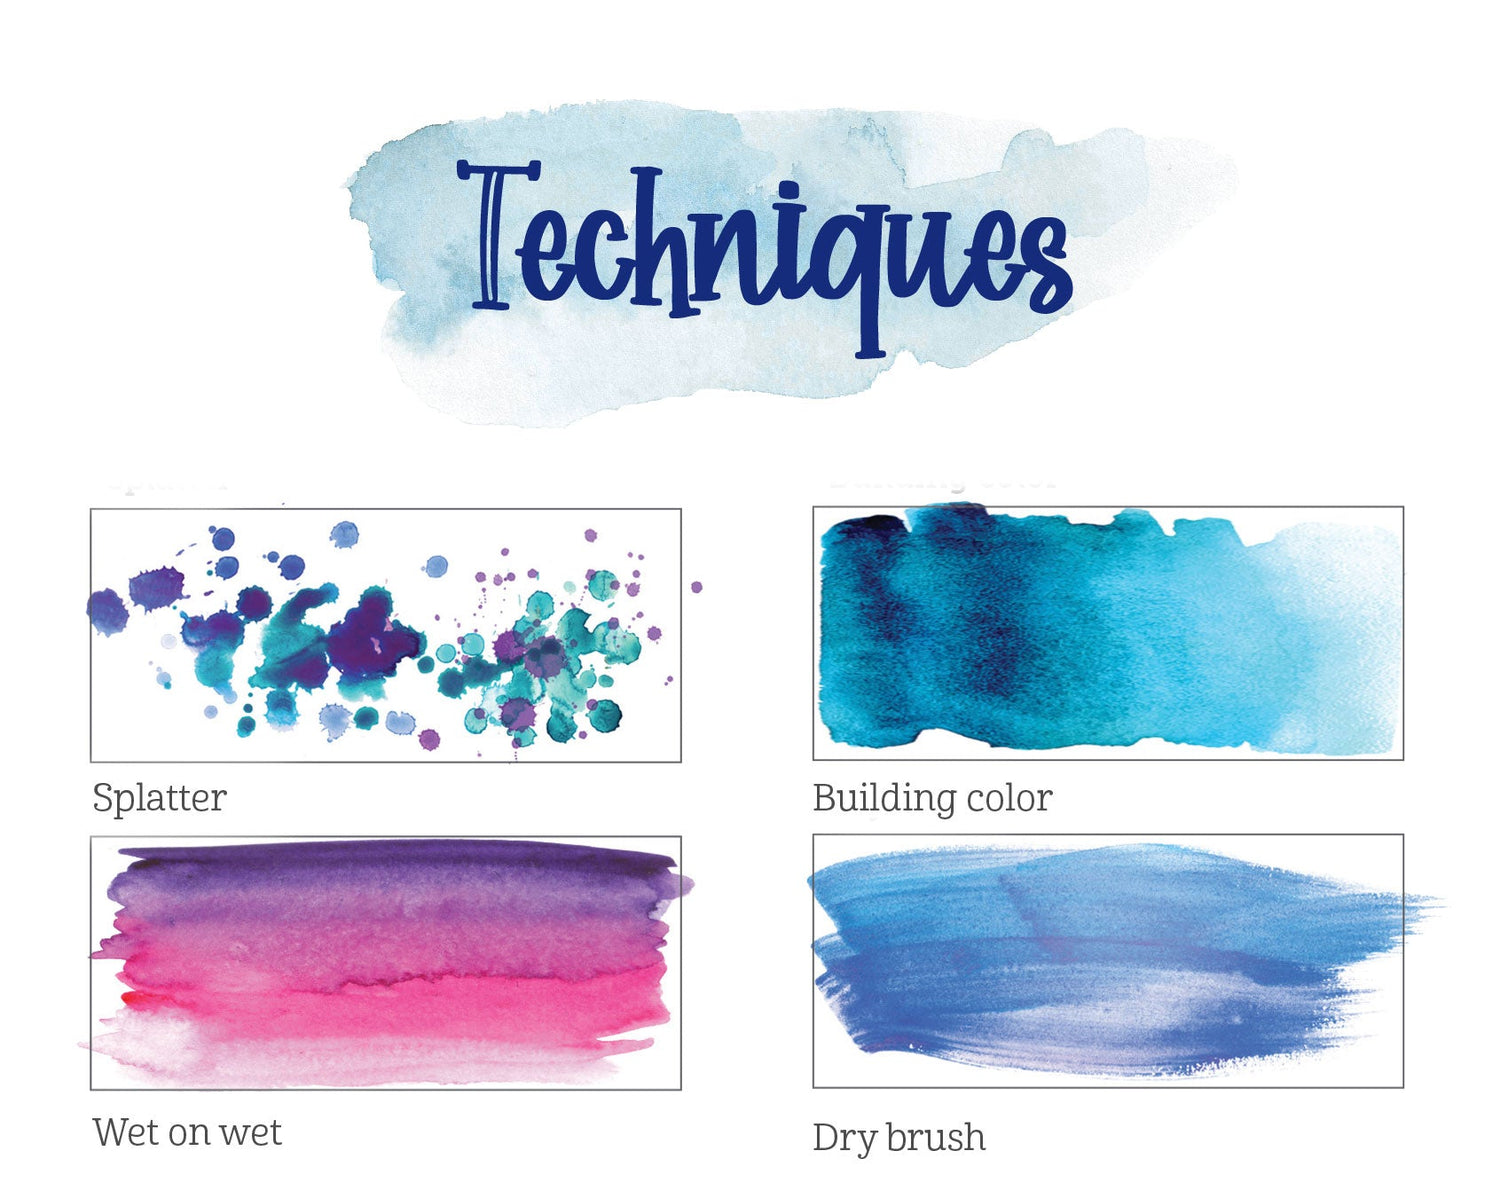
- Drop color: Let watercolor drop from your brush onto wet paper.
- Dry-brush: Load brush with paint, then dry it off and apply it onto dry paper.
- Hard edge: Apply wet paint next to dry paint to create a sharp edge.
- Soft edge: Apply wet paint next to wet paint to create a bleeding edge.
- Blended color: Apply one color on one side and apply a second color on the other side, blending one color into the other.
- Layering (glazing): Apply a base layer. Let it dry. Then apply additional layers, allowing time to dry between layers.

Related Posts
-
Tips for Limiting Screen Time
Technology brings a wealth of information to our fingertips, but overuse of screen time has become an issue for many families. Jenny Phillips shares her family’s journey to limiting screen...
Tips for Limiting Screen Time
Technology brings a wealth of information to our fingertips, but overuse of screen time has become an issue for many families. Jenny Phillips shares her family’s journey to limiting screen...
Read more Tips for Limiting Screen Time -

Homeschooling Year-Round vs Traditional
Is a traditional or year-round homeschool schedule best for your family? Watch this video from The Good and the Beautiful YouTube channel to find out some benefits and drawbacks of...
Homeschooling Year-Round vs Traditional
Is a traditional or year-round homeschool schedule best for your family? Watch this video from The Good and the Beautiful YouTube channel to find out some benefits and drawbacks of...
Read more Homeschooling Year-Round vs Traditional -

Is Sentence Diagramming Necessary for Learning ...
Sentence diagramming can be a grammar exercise students either love or run from. Sit down with Jenny Phillips in this video and blog post as she discusses how and why...
Is Sentence Diagramming Necessary for Learning ...
Sentence diagramming can be a grammar exercise students either love or run from. Sit down with Jenny Phillips in this video and blog post as she discusses how and why...
Read more Is Sentence Diagramming Necessary for Learning Grammar? -

What Is a Solar Eclipse?
Witnessing a total solar eclipse is a once-in-a-lifetime experience for most. Learn all about total solar eclipses and how to safely view one. Then download directions for a fun solar...
What Is a Solar Eclipse?
Witnessing a total solar eclipse is a once-in-a-lifetime experience for most. Learn all about total solar eclipses and how to safely view one. Then download directions for a fun solar...
Read more What Is a Solar Eclipse? -
Is The Good and the Beautiful Math Rigorous?
What is rigor in mathematics, and is Simply Good and Beautiful Math rigorous enough? A rigorous homeschool math course teaches more than just memorization of facts and steps. Keep reading...
Is The Good and the Beautiful Math Rigorous?
What is rigor in mathematics, and is Simply Good and Beautiful Math rigorous enough? A rigorous homeschool math course teaches more than just memorization of facts and steps. Keep reading...
Read more Is The Good and the Beautiful Math Rigorous? -

Count to 15
Teach children how to count to 15 through music and illustration with our delightful video on The Good and the Beautiful Kids Channel on YouTube. Then keep reading for more...
Count to 15
Teach children how to count to 15 through music and illustration with our delightful video on The Good and the Beautiful Kids Channel on YouTube. Then keep reading for more...
Read more Count to 15 -

Count by 10's
Counting by 10's is an easy pattern to introduce to children once they have mastered counting by 1's. Print the free download. Then sing along with the children in this...
Count by 10's
Counting by 10's is an easy pattern to introduce to children once they have mastered counting by 1's. Print the free download. Then sing along with the children in this...
Read more Count by 10's -

The Good and the Beautiful Science: What It’s A...
Science is an important part of any homeschool education, but our team believes homeschool science curriculum should be fun and inspiring too! Our best-selling science units make science exciting to...
The Good and the Beautiful Science: What It’s A...
Science is an important part of any homeschool education, but our team believes homeschool science curriculum should be fun and inspiring too! Our best-selling science units make science exciting to...
Read more The Good and the Beautiful Science: What It’s All About -

The Good and the Beautiful Handwriting: What It...
The Good and the Beautiful's award-winning handwriting curriculum was named the most popular among homeschool families in 2022! When you open one of our handwriting books, you immediately notice The...
The Good and the Beautiful Handwriting: What It...
The Good and the Beautiful's award-winning handwriting curriculum was named the most popular among homeschool families in 2022! When you open one of our handwriting books, you immediately notice The...
Read more The Good and the Beautiful Handwriting: What It's All About -
 1 comment
Homeschooling with The Good and the Beautiful: ...
Once there was a homeschool mom who loved books and nature and God. She created her dream language arts curriculum for her own kids. And then she shared it for...
1 commentHomeschooling with The Good and the Beautiful: ...
Once there was a homeschool mom who loved books and nature and God. She created her dream language arts curriculum for her own kids. And then she shared it for...
Read more Homeschooling with The Good and the Beautiful: What It’s All About -
Second Grade Sight Words
Master second grade sight words! Download a free list of sight words used in The Good and the Beautiful Level 2 Language Arts and some fun sight word games for...
Second Grade Sight Words
Master second grade sight words! Download a free list of sight words used in The Good and the Beautiful Level 2 Language Arts and some fun sight word games for...
Read more Second Grade Sight Words -

Simply Good and Beautiful Math: What It's All A...
Simply Good and Beautiful Math: What It's All About What is Simply Good and Beautiful Math? How does it work, and what makes it different from other homeschool math curriculums? Get...
Simply Good and Beautiful Math: What It's All A...
Simply Good and Beautiful Math: What It's All About What is Simply Good and Beautiful Math? How does it work, and what makes it different from other homeschool math curriculums? Get...
Read more Simply Good and Beautiful Math: What It's All About -
First Grade Sight Words
Learning phonics and decoding is vital for first-grade reader. First graders benefit from learning a short list of words by sight as well. The most useful first-grade sight words are...
First Grade Sight Words
Learning phonics and decoding is vital for first-grade reader. First graders benefit from learning a short list of words by sight as well. The most useful first-grade sight words are...
Read more First Grade Sight Words -

4th of July Coloring Pages
Free Printable 4th of July Coloring Pages! Enjoy these beautiful illustrations made into patriotic 4th of July coloring pages, available only from The Good and the Beautiful. Keep reading to...
4th of July Coloring Pages
Free Printable 4th of July Coloring Pages! Enjoy these beautiful illustrations made into patriotic 4th of July coloring pages, available only from The Good and the Beautiful. Keep reading to...
Read more 4th of July Coloring Pages -

Skip Counting: Multiples of 3, 4, 6, 7, 8, and 9
Skip counting is an important foundation for understanding and learning multiplication! Children easily learn the multiples of 2, 5, and 10 first, but the multiples of 3, 4, 6, 7,...
Skip Counting: Multiples of 3, 4, 6, 7, 8, and 9
Skip counting is an important foundation for understanding and learning multiplication! Children easily learn the multiples of 2, 5, and 10 first, but the multiples of 3, 4, 6, 7,...
Read more Skip Counting: Multiples of 3, 4, 6, 7, 8, and 9 -

30 Outdoor Activities for Kids
Looking for some outdoor activities for kids? Well, it’s time to get outside! The positive impact of nature and outdoor learning has been proven over and over again. Spending time...
30 Outdoor Activities for Kids
Looking for some outdoor activities for kids? Well, it’s time to get outside! The positive impact of nature and outdoor learning has been proven over and over again. Spending time...
Read more 30 Outdoor Activities for Kids -
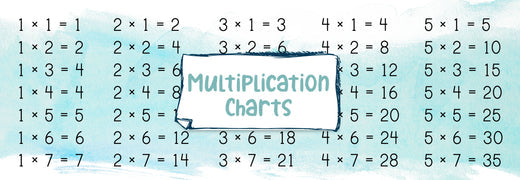
Multiplication Chart Printable
Multiplication! For some children, memorizing facts and recognizing number patterns is a fun puzzle and enjoyable mental challenge. For others, it’s a complicated chore. We are here to help with...
Multiplication Chart Printable
Multiplication! For some children, memorizing facts and recognizing number patterns is a fun puzzle and enjoyable mental challenge. For others, it’s a complicated chore. We are here to help with...
Read more Multiplication Chart Printable -
Kindergarten Readiness Checklist
Get ready for kindergarten! In this post, learn tips on how to prep your child for kindergarten, and be sure to download our free, printable Kindergarten Readiness Checklist! Preparing for Kindergarten...
Kindergarten Readiness Checklist
Get ready for kindergarten! In this post, learn tips on how to prep your child for kindergarten, and be sure to download our free, printable Kindergarten Readiness Checklist! Preparing for Kindergarten...
Read more Kindergarten Readiness Checklist -
What Do Grasshoppers Eat?
Walking through a backyard in the spring and summer, you’re likely to spy a bright green grasshopper springing across your path. These medium-to-large insects have two pairs of wings and...
What Do Grasshoppers Eat?
Walking through a backyard in the spring and summer, you’re likely to spy a bright green grasshopper springing across your path. These medium-to-large insects have two pairs of wings and...
Read more What Do Grasshoppers Eat?


