
Three Best Homemade Volcanoes for Kids
-
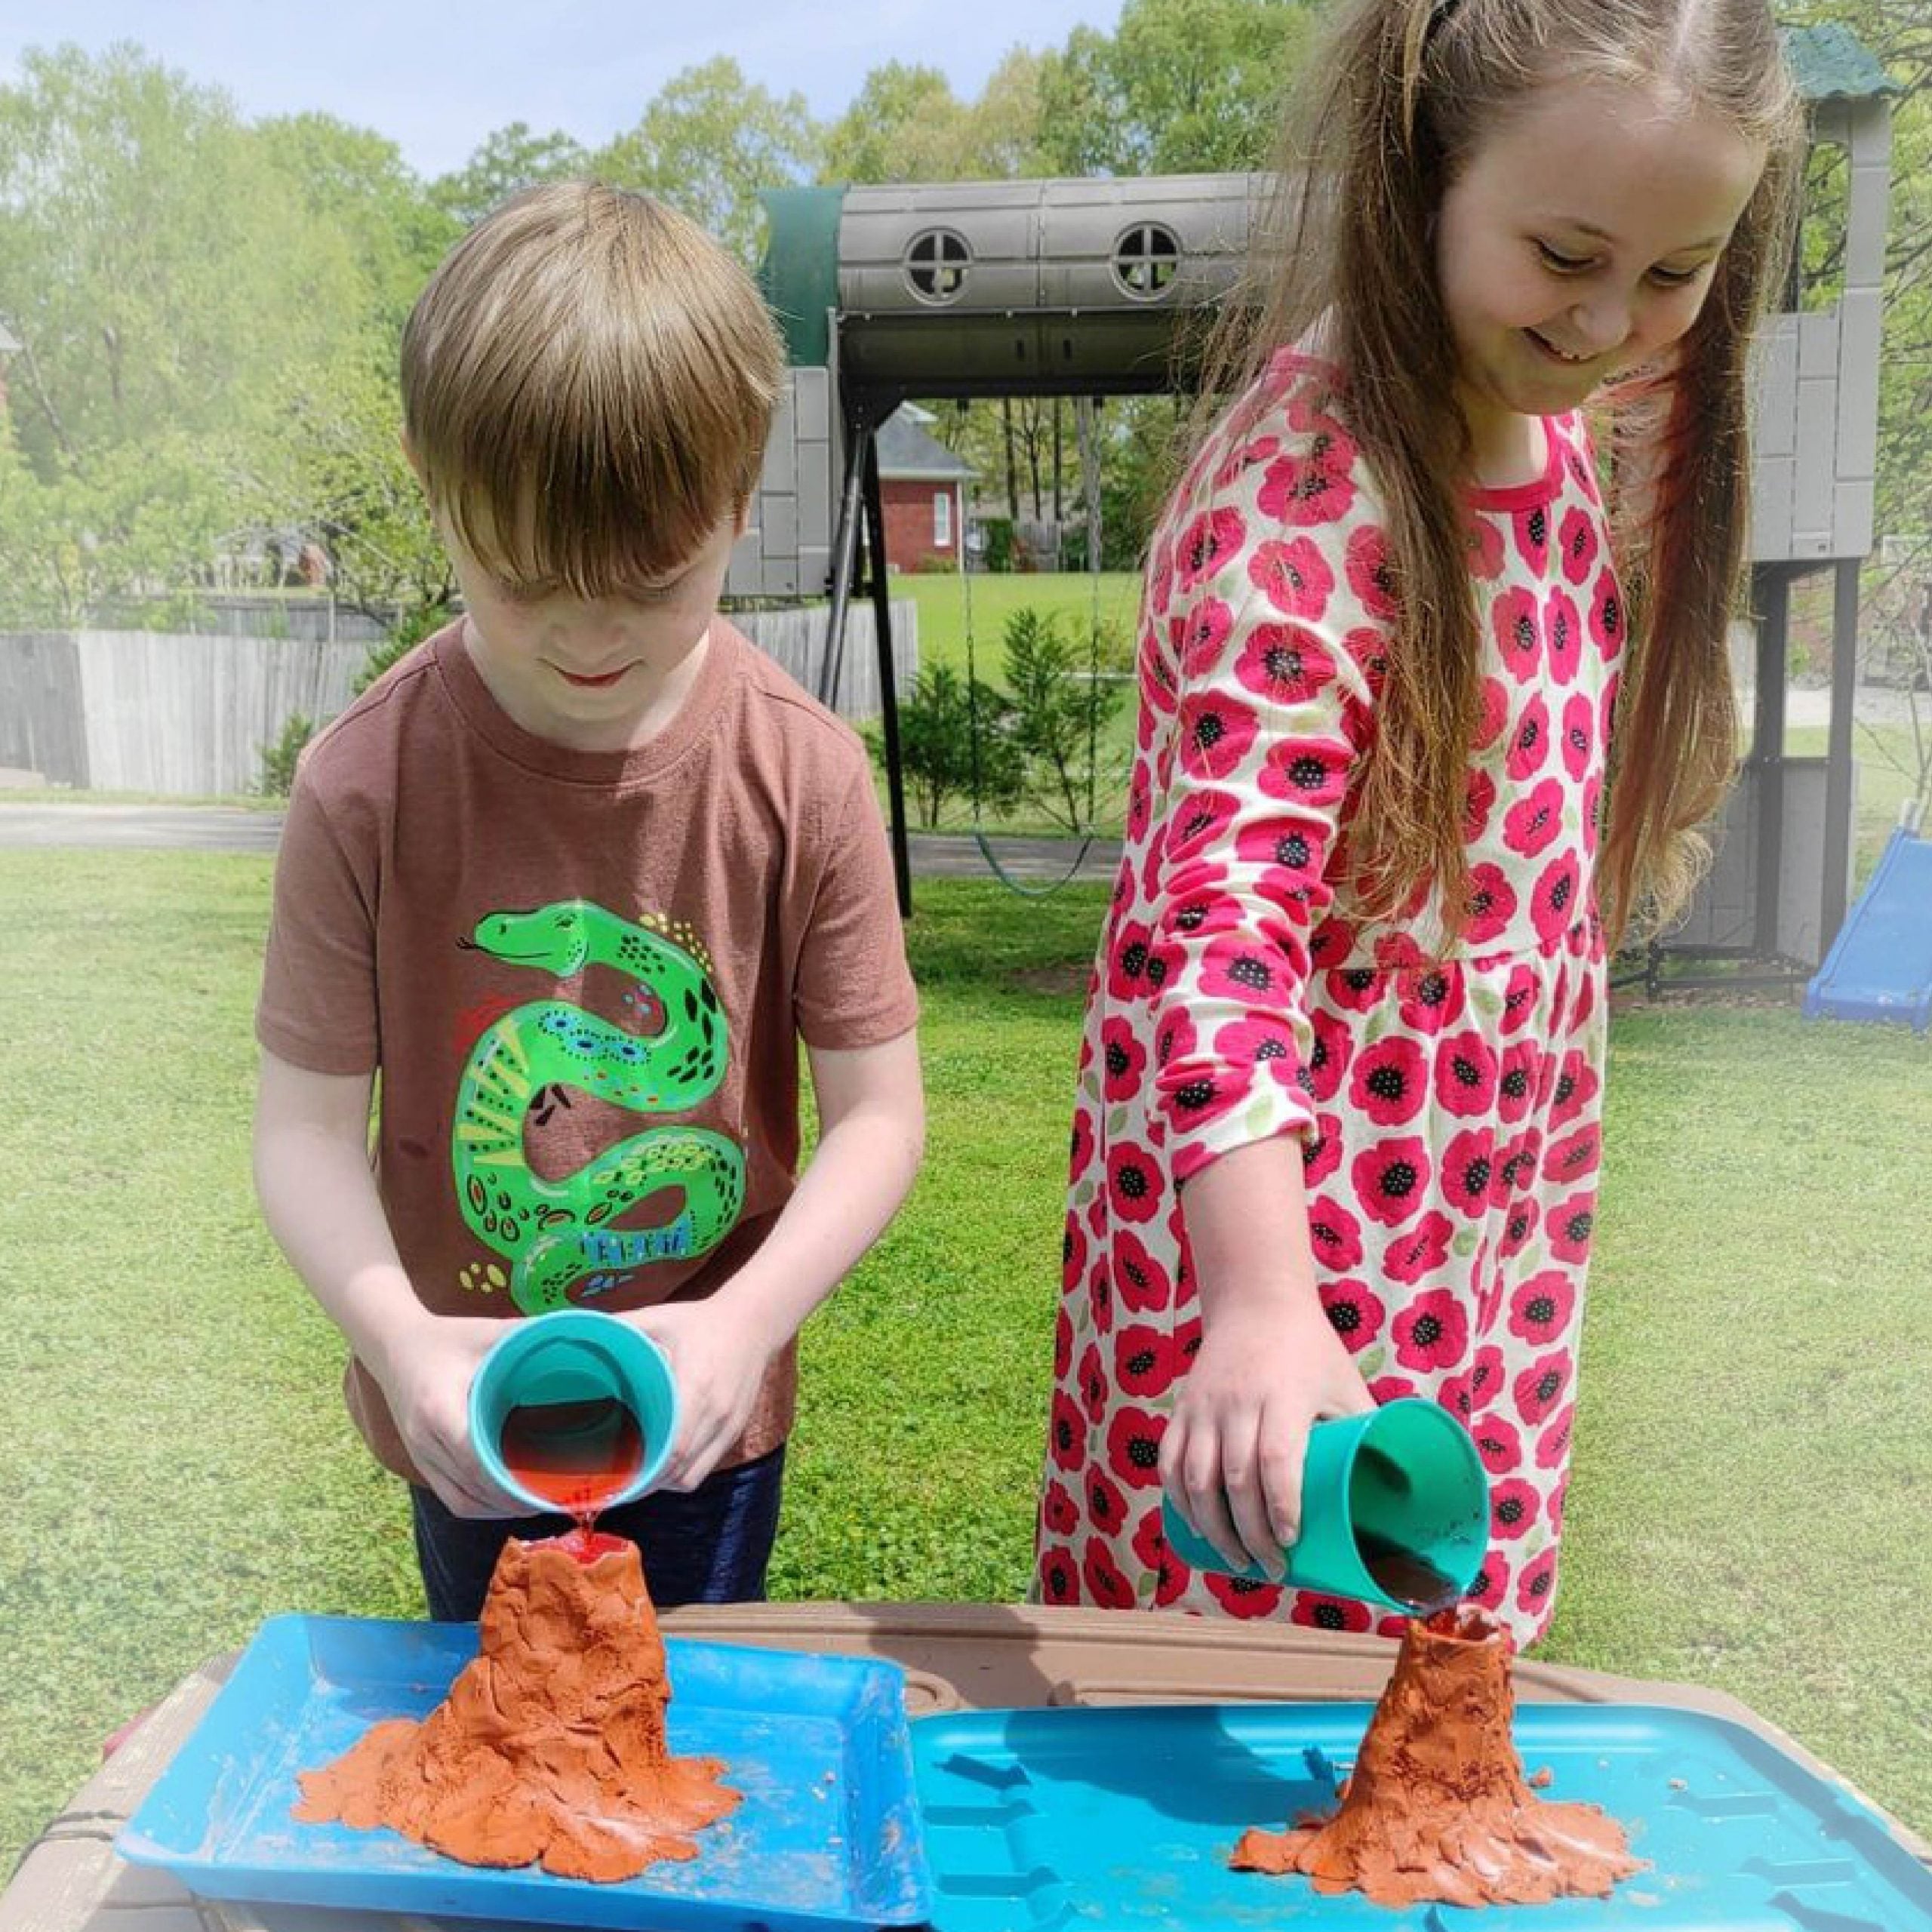
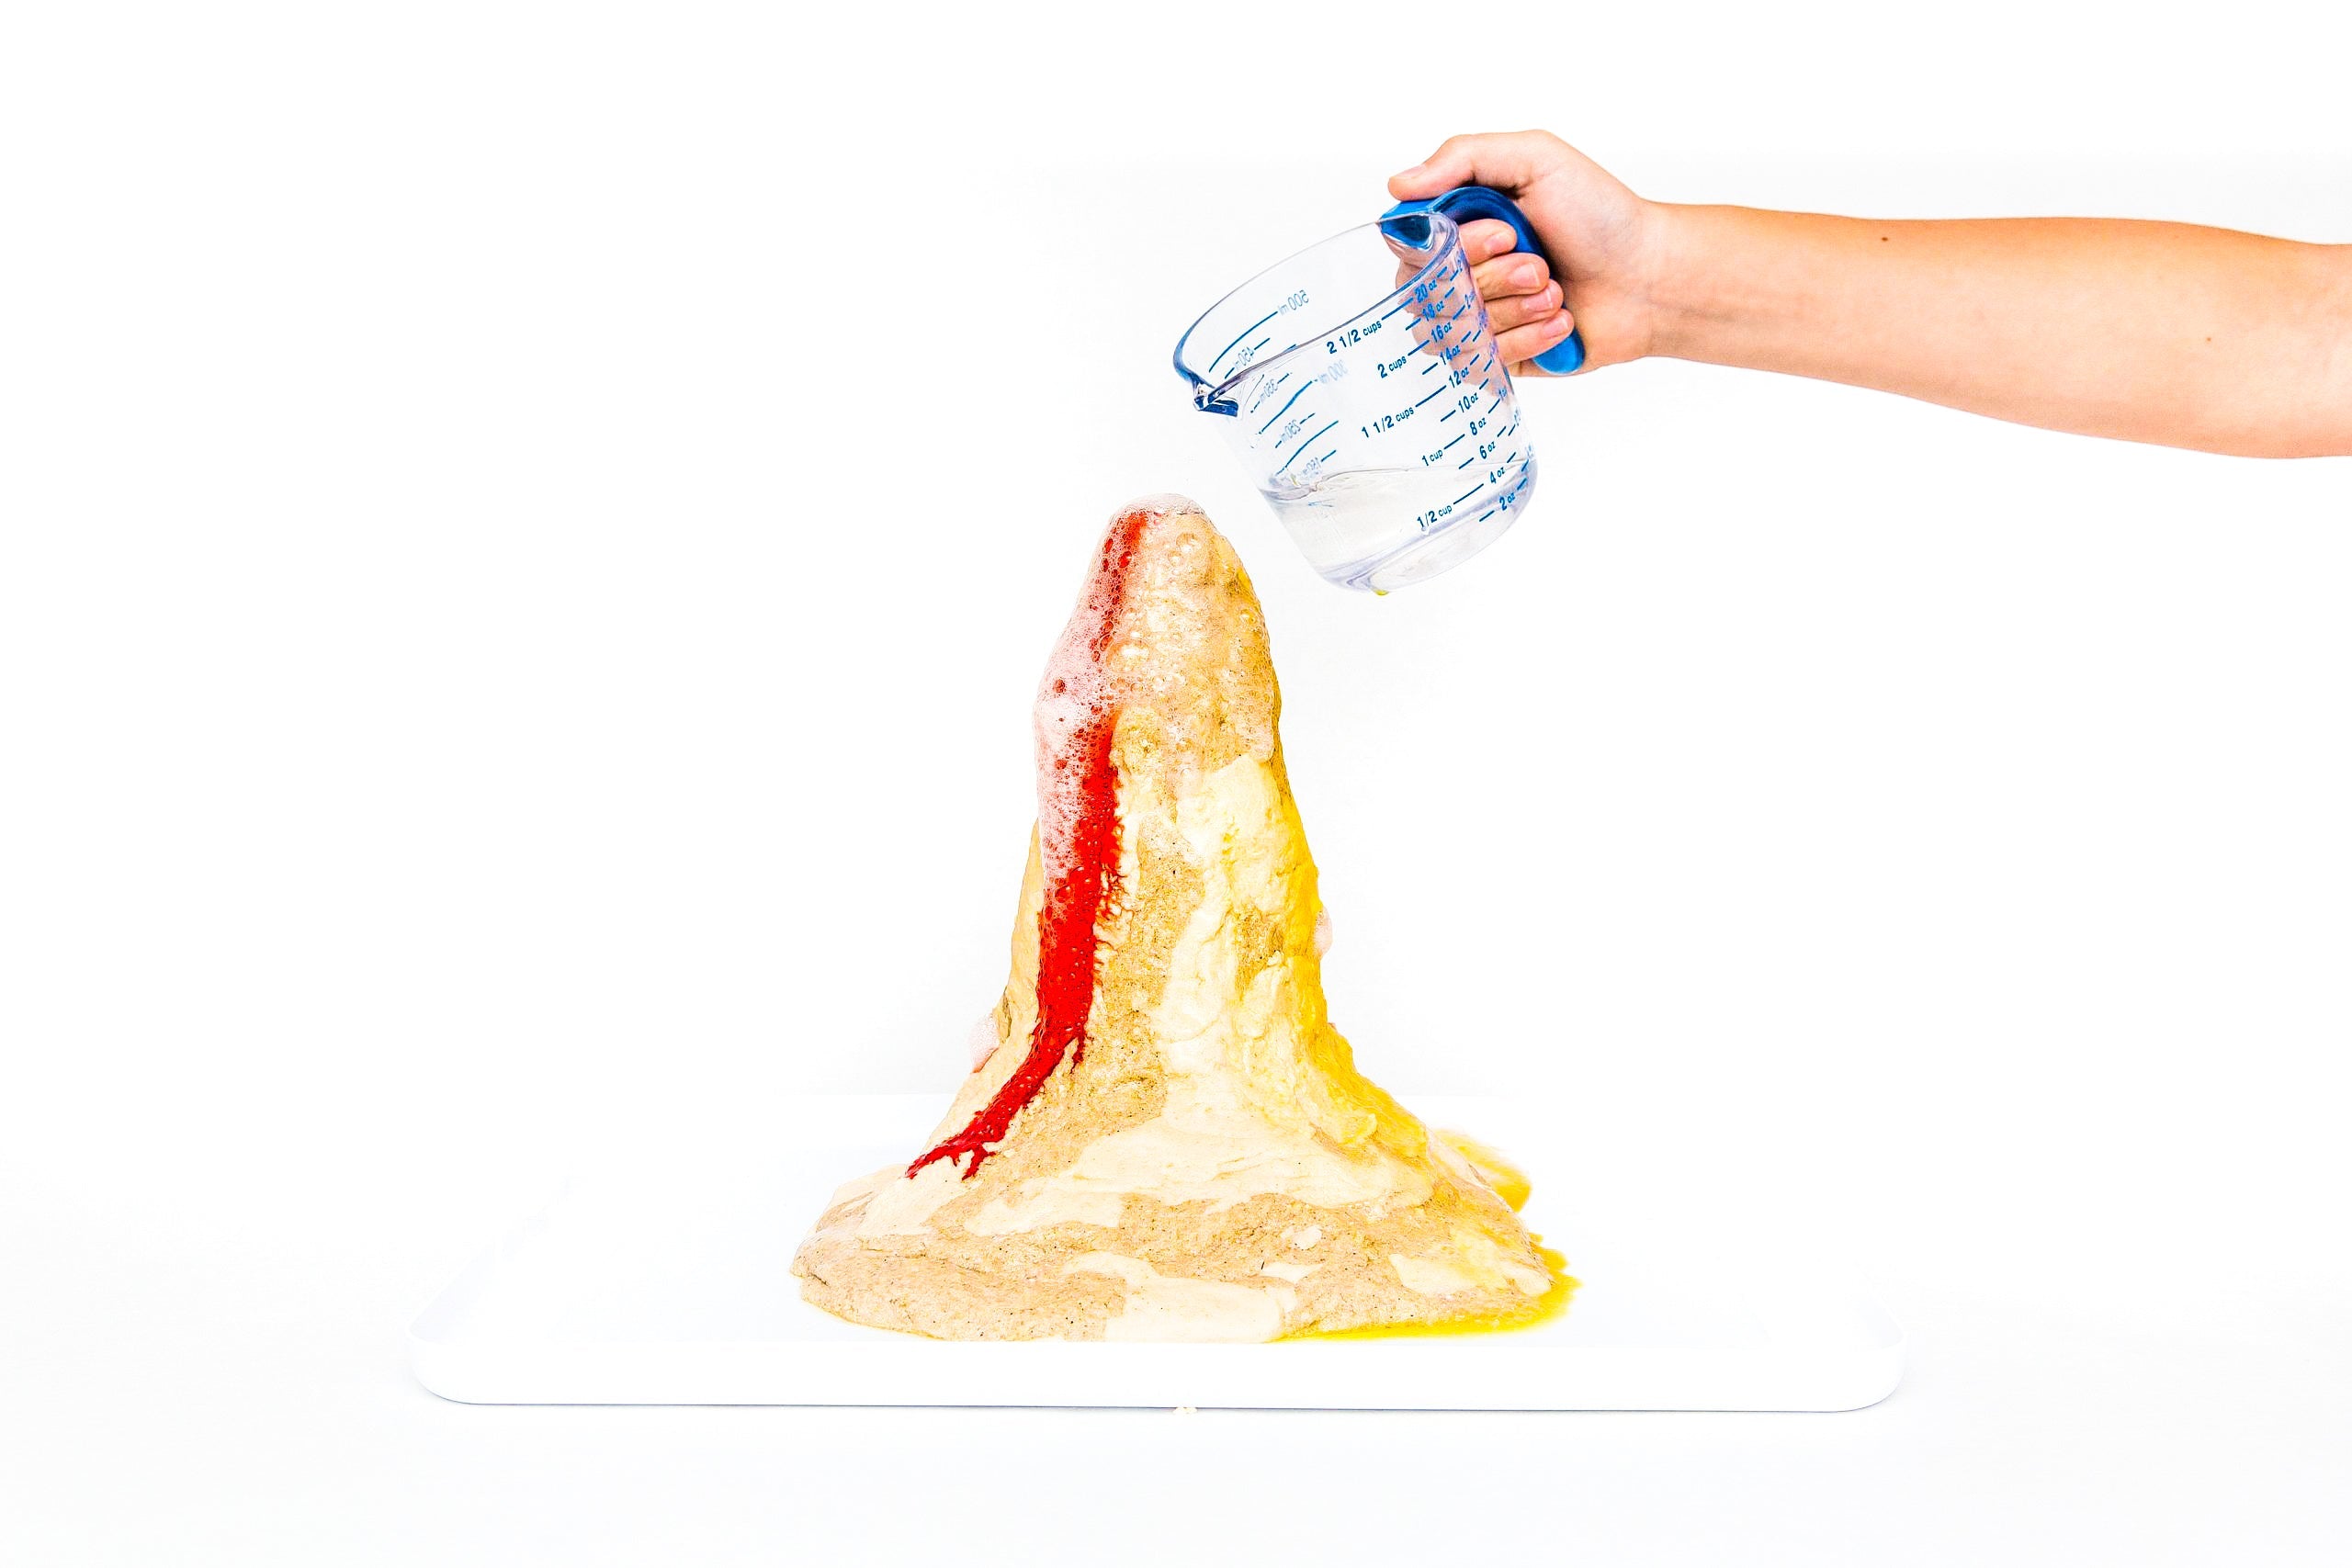
Dough Volcano
-
Clay Volcano
-
Dirt Volcano


Building volcanoes is fun indoors and outdoors!
-
 Click Here for FREE Download
Click the button to print these directions and a FREE "Parts of a Volcano" activity from our Geology science unit.

How to Make Erupting Lava


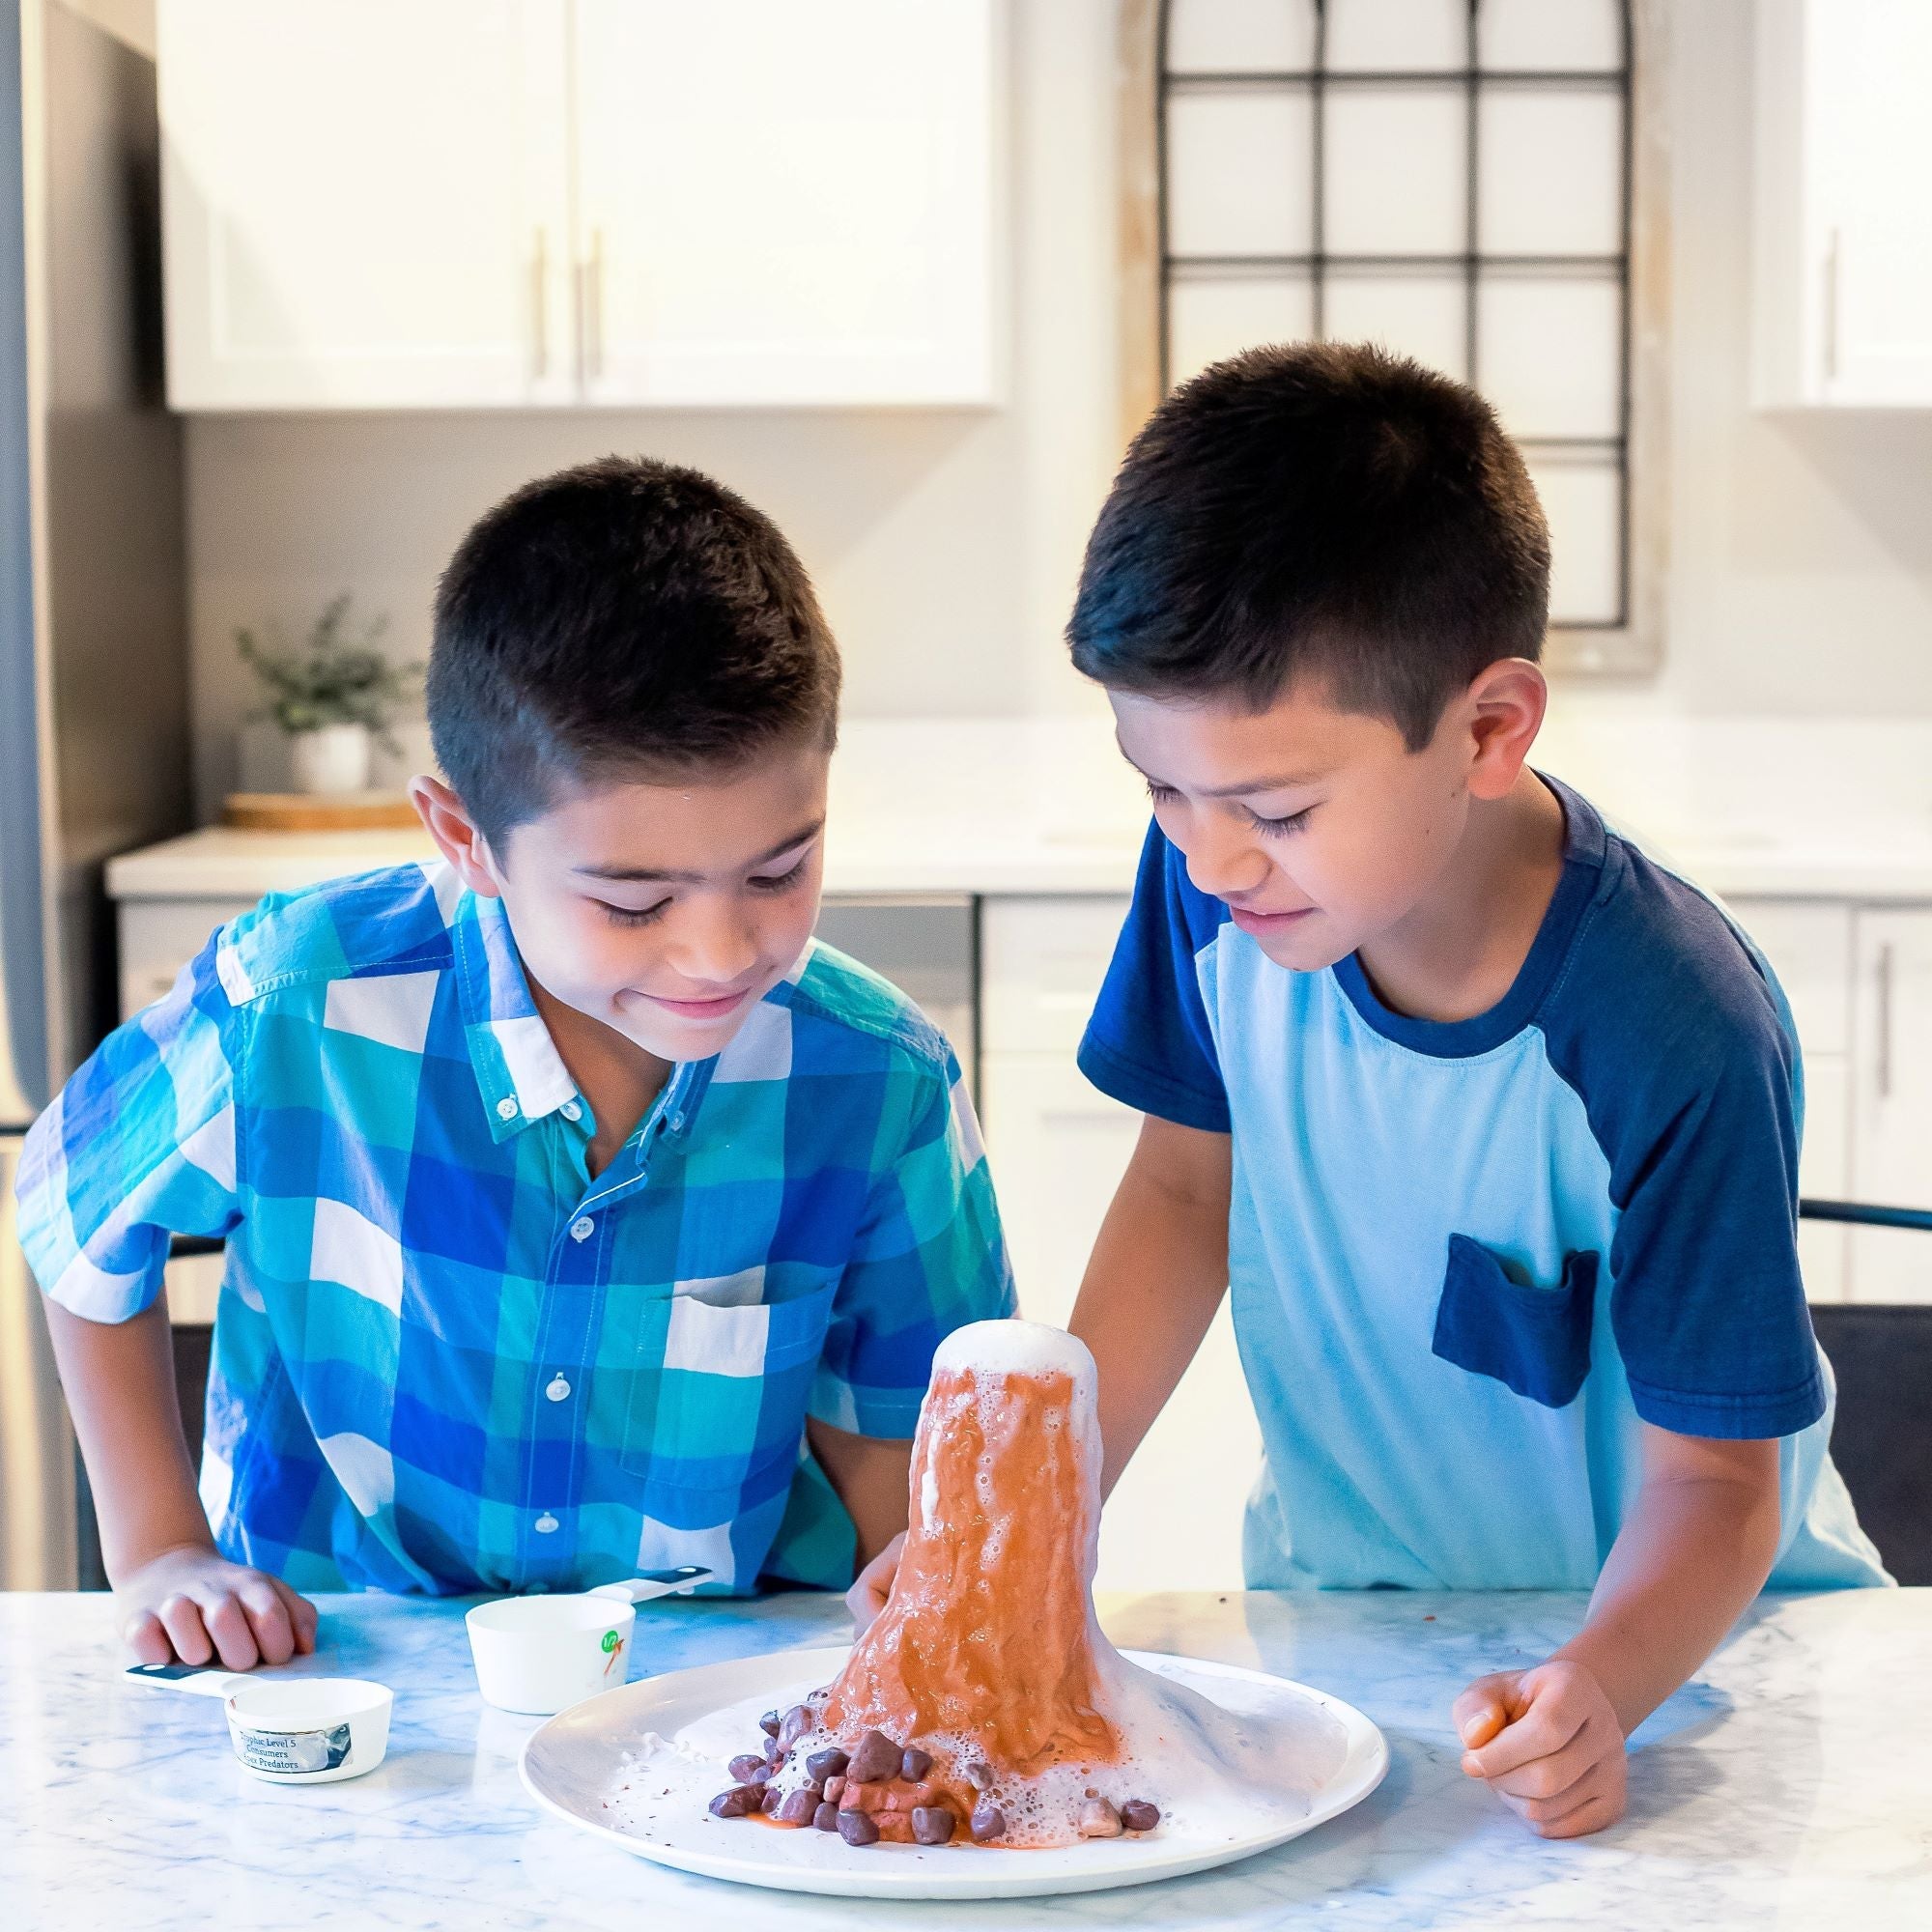
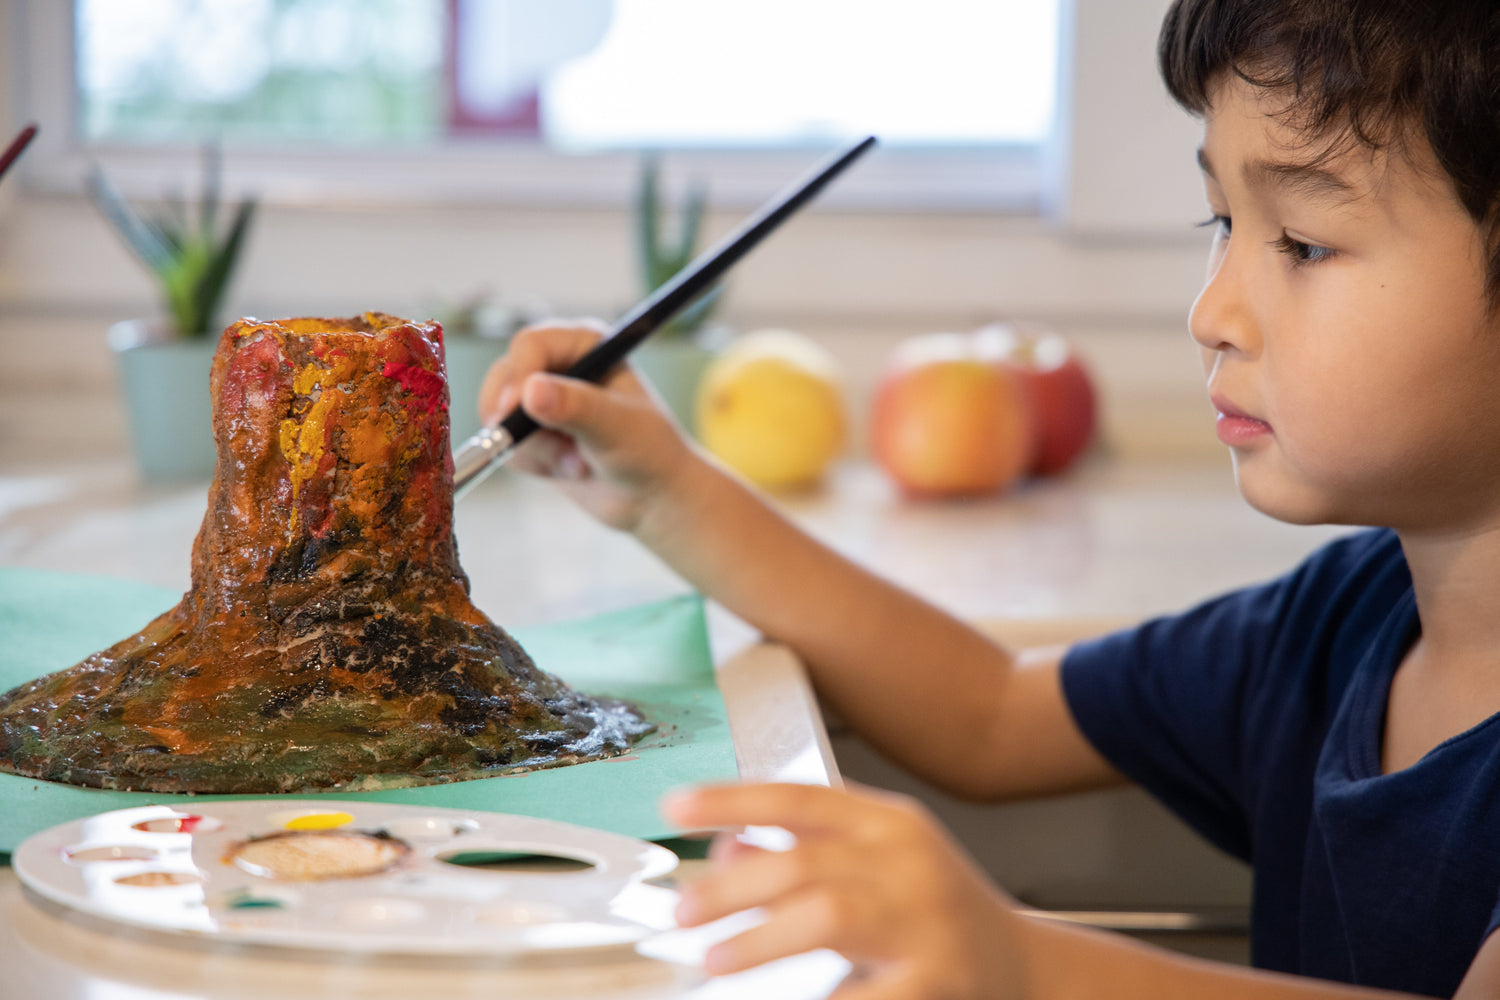
#2 – Clay Volcano
Next, we built a more basic volcano using air-dry clay. We built this one up around an eight-ounce disposable plastic cup, and we found it worked just as well as the bottle magma chamber. Use whatever you have on hand! We didn’t wait for it to dry before our eruption, but if you want to make yours look a bit fancier and more realistic, let it dry first and then paint it.


We put a slightly different twist on the lava this time. We used the same basic recipe, but we substituted roughly two ounces of a combination of red, yellow, and orange washable paints for the food coloring. The result was very pretty, richly colored lava.
Using washable paint is a great idea if you are building your volcano indoors since it won’t stain like food coloring.
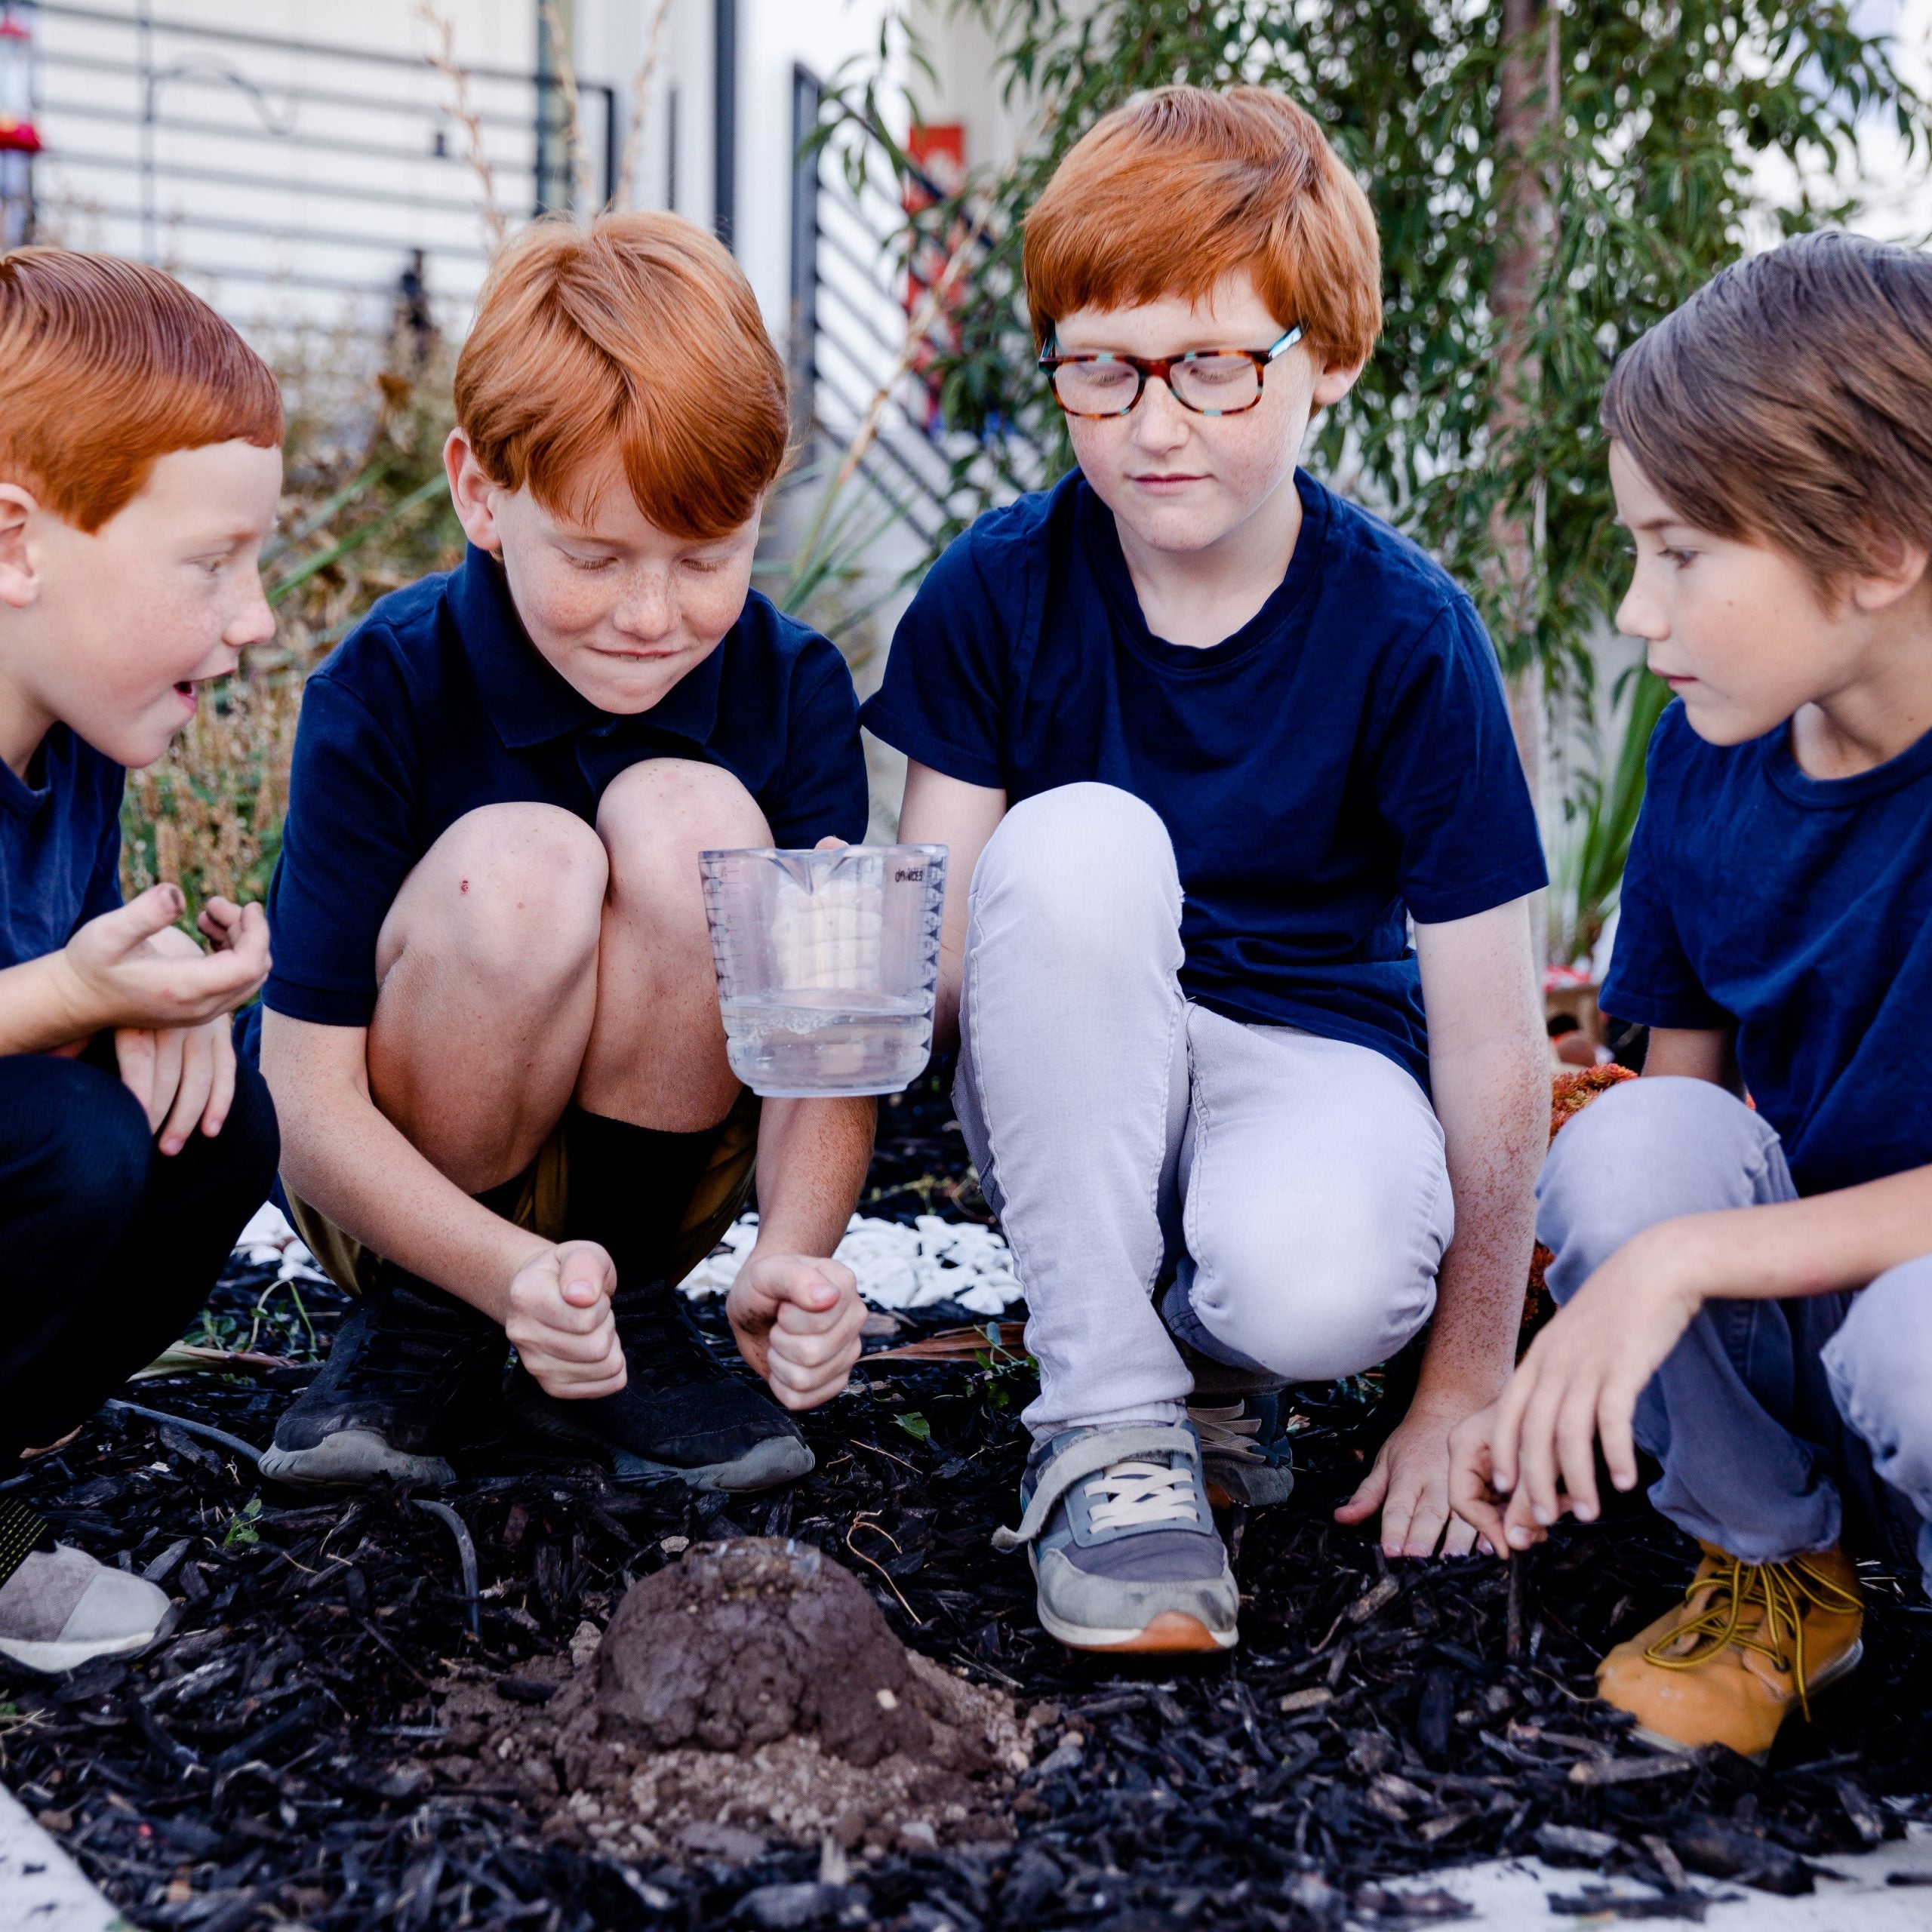
#3 – Dirt Volcano
The easiest and least expensive volcano to make is a dirt volcano. For this one all you’ll need to have on hand are the lava ingredients and a bottle or cup for the magma chamber because the rest is built from nature.


-
Click Here for FREE Download
Click the button to print these directions and for a FREE Parts of a Volcano activity from our Geology science unit.
-
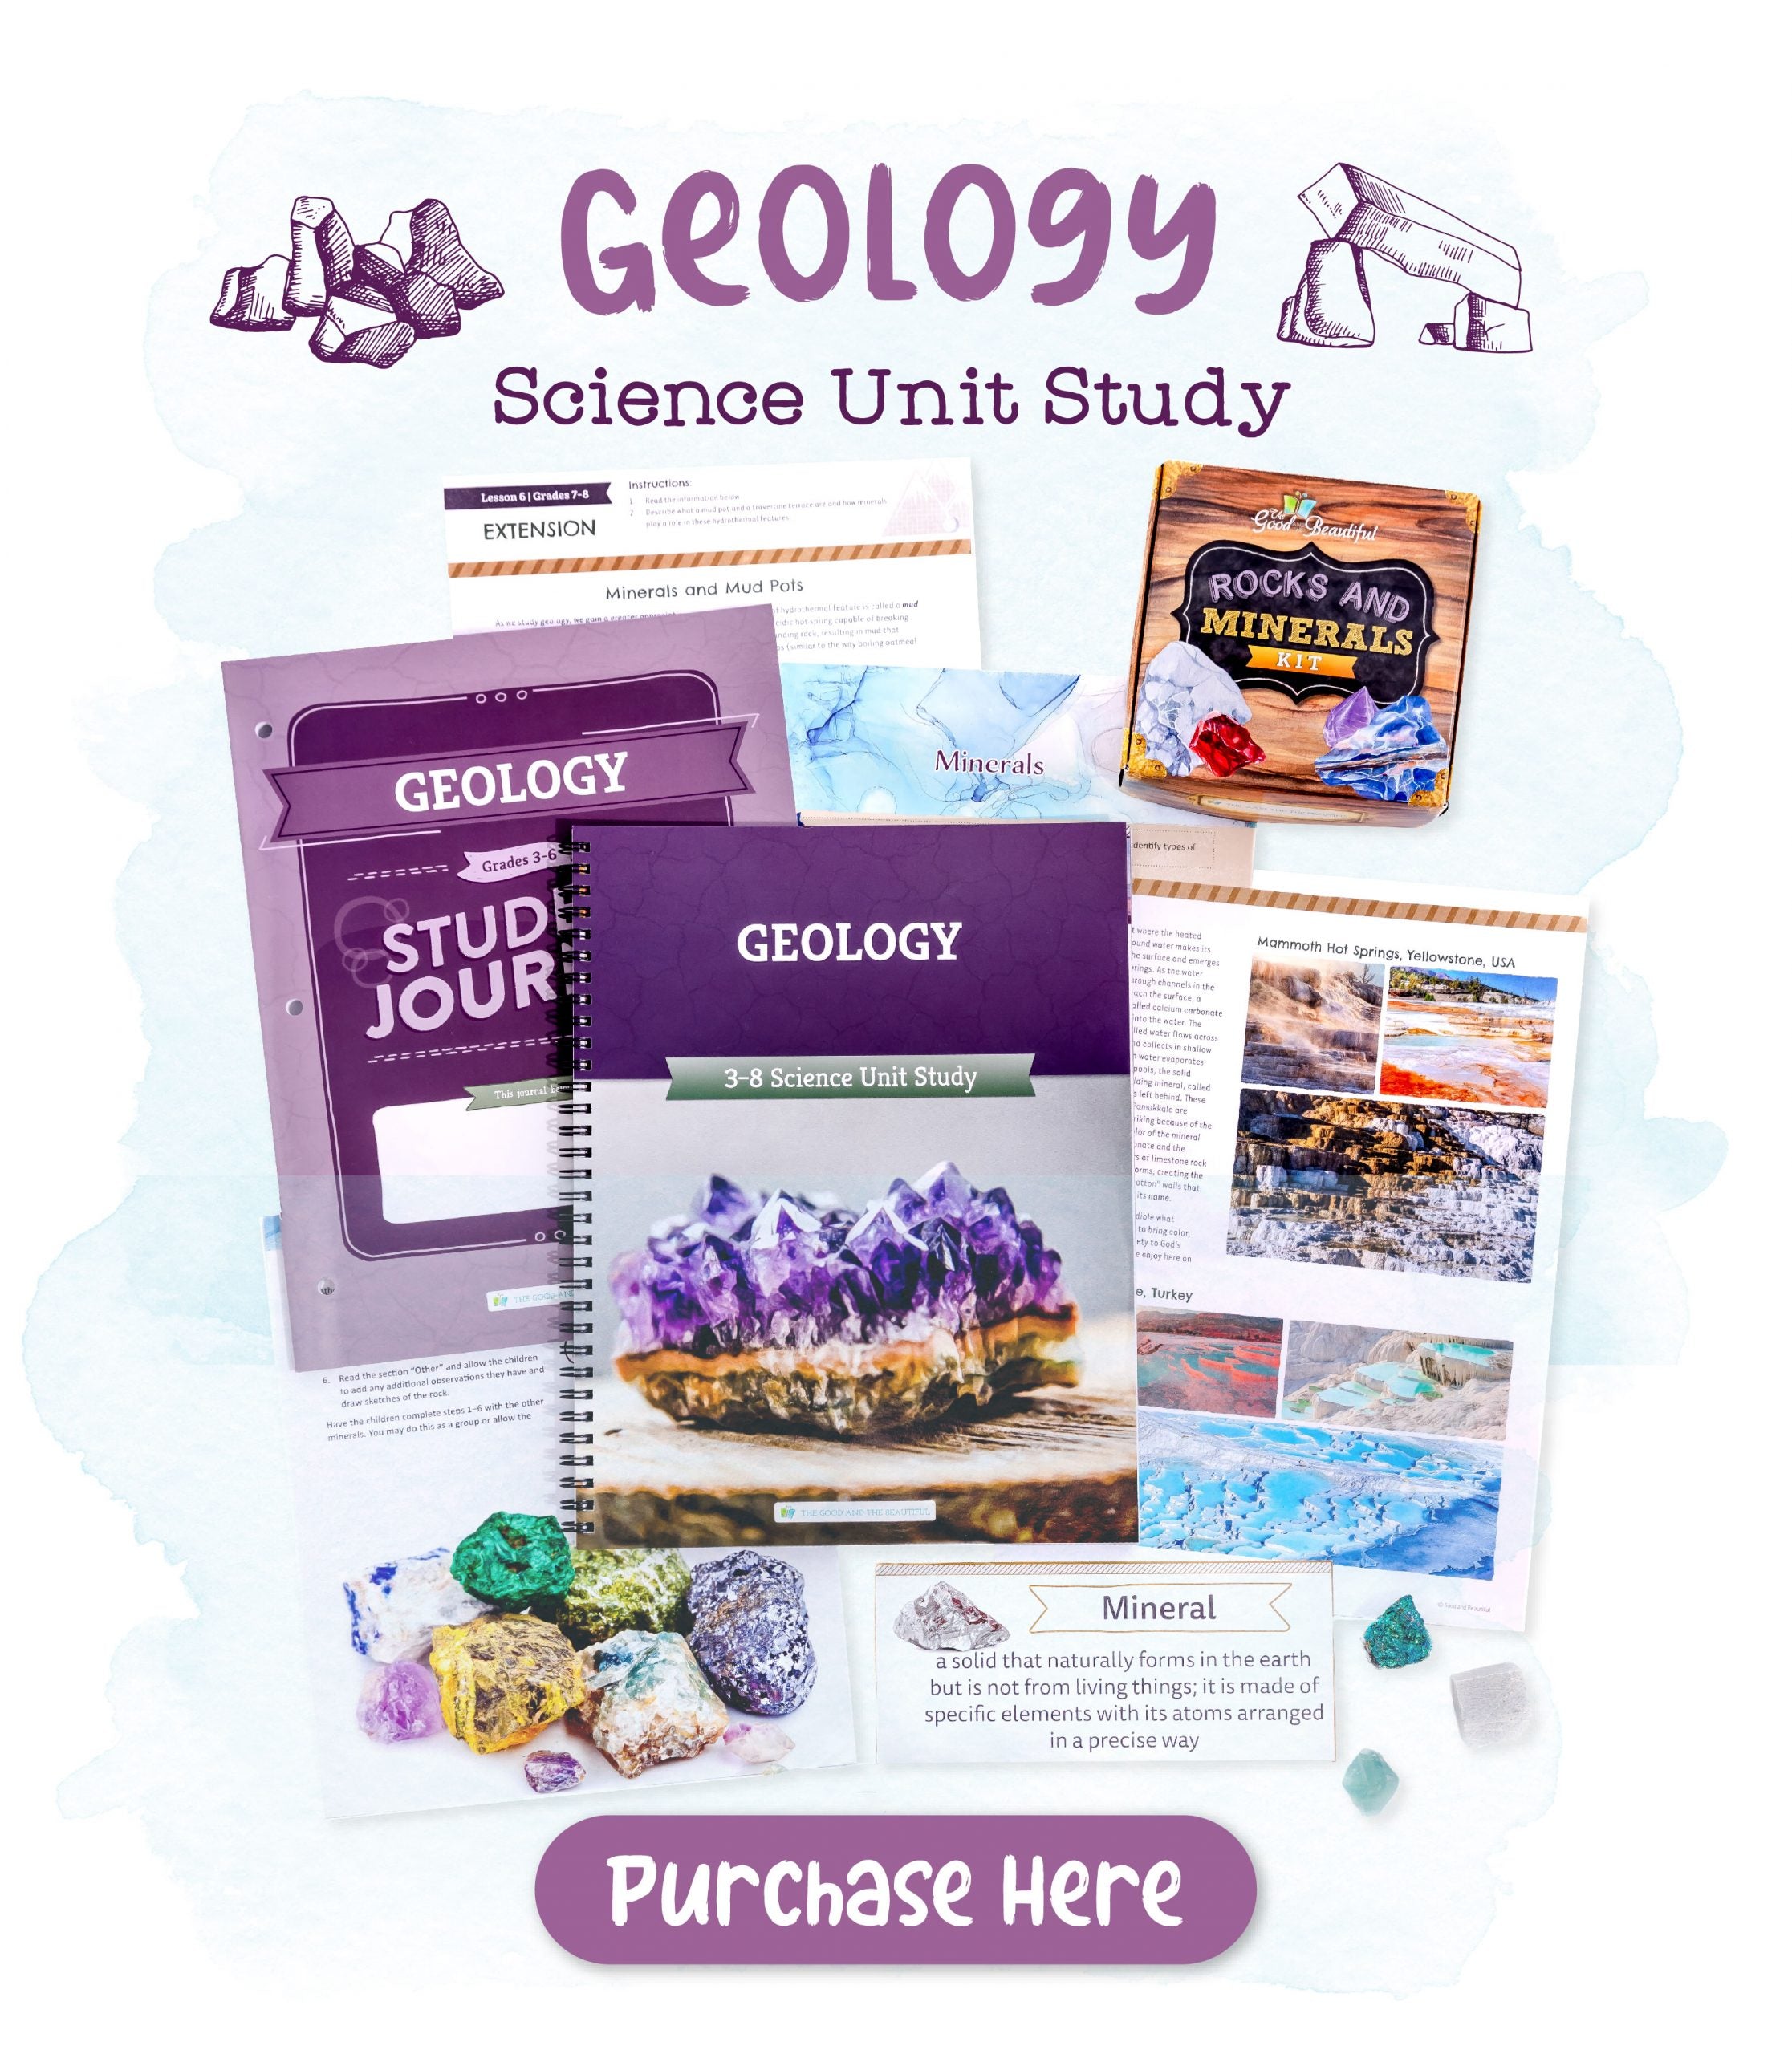
Study Geology
All three volcano experiments are part of The Good and the Beautiful Geology science unit. This one-of-a-kind 14-lesson science unit is filled with engaging hands-on activities and informative videos that make studying the earth’s composition interactive and exciting. Learn more about all of our family-style science units here.


Related Posts
-

Alternatives to Public School: Choosing the Bes...
Considering alternatives to public school? Explore homeschooling, charter schools, private schools, and other options for your family.
Alternatives to Public School: Choosing the Bes...
Considering alternatives to public school? Explore homeschooling, charter schools, private schools, and other options for your family.
Read more Alternatives to Public School: Choosing the Best Option for Your Child -
 2 comments
6 Fun Ways to Teach Kids About the World Cup
⚽ Wondering how to make the FIFA World Cup an unforgettable educational experience for your kids? Engage your children with this epic soccer tournament!
2 comments6 Fun Ways to Teach Kids About the World Cup
⚽ Wondering how to make the FIFA World Cup an unforgettable educational experience for your kids? Engage your children with this epic soccer tournament!
Read more 6 Fun Ways to Teach Kids About the World Cup -
 3 comments
How Dads Do Homeschool
Wondering how dads do homeschool? In this post we explore the many ways homeschool dads contribute to their children’s education and character.
3 commentsHow Dads Do Homeschool
Wondering how dads do homeschool? In this post we explore the many ways homeschool dads contribute to their children’s education and character.
Read more How Dads Do Homeschool -
 2 comments
Homeschool Requirements
One of the first questions many parents ask when they begin to consider homeschooling is this: What are my state’s homeschooling requirements? Learn about the requirements and where to find...
2 commentsHomeschool Requirements
One of the first questions many parents ask when they begin to consider homeschooling is this: What are my state’s homeschooling requirements? Learn about the requirements and where to find...
Read more Homeschool Requirements -

How Much Does Homeschooling Cost?
Many families are drawn to homeschooling for a variety of meaningful reasons. For some families, it offers a more personalized approach, allowing learning to grow around a child's individual pace,...
How Much Does Homeschooling Cost?
Many families are drawn to homeschooling for a variety of meaningful reasons. For some families, it offers a more personalized approach, allowing learning to grow around a child's individual pace,...
Read more How Much Does Homeschooling Cost? -

What Is a Subordinating Conjunction?
Find answers to frequently asked questions about subordinating conjunctions in this blog post. Learn about subordinating conjunctions and how they are different from coordinating conjunctions. Download a free list of...
What Is a Subordinating Conjunction?
Find answers to frequently asked questions about subordinating conjunctions in this blog post. Learn about subordinating conjunctions and how they are different from coordinating conjunctions. Download a free list of...
Read more What Is a Subordinating Conjunction? -

What Are Being Verbs?
Find answers to frequently asked questions about being verbs in this blog post. Learn about being verbs and how they are different from action verbs. Download a free list of...
What Are Being Verbs?
Find answers to frequently asked questions about being verbs in this blog post. Learn about being verbs and how they are different from action verbs. Download a free list of...
Read more What Are Being Verbs? -

What Are Prepositions?
Find answers to frequently asked questions about prepositions in this blog post. Learn about prepositions and how to answer your child’s grammar questions concerning prepositions. Download a free list of...
What Are Prepositions?
Find answers to frequently asked questions about prepositions in this blog post. Learn about prepositions and how to answer your child’s grammar questions concerning prepositions. Download a free list of...
Read more What Are Prepositions? -

Are Homeschoolers Too Sheltered?
Many parents struggle with the question of how much to shelter their children from the difficulties and trials in life. Homeschool families are no exception. Are homeschoolers too sheltered? Jenny...
Are Homeschoolers Too Sheltered?
Many parents struggle with the question of how much to shelter their children from the difficulties and trials in life. Homeschool families are no exception. Are homeschoolers too sheltered? Jenny...
Read more Are Homeschoolers Too Sheltered? -
 1 comment
Do Kids Really Need to Learn Cursive?
Is learning cursive really necessary? You might be surprised by Jenny’s answer. In this blog post and video, she shares some of the benefits of learning cursive and how The...
1 commentDo Kids Really Need to Learn Cursive?
Is learning cursive really necessary? You might be surprised by Jenny’s answer. In this blog post and video, she shares some of the benefits of learning cursive and how The...
Read more Do Kids Really Need to Learn Cursive? -
 47 comments
Months of the Year
Learning the months of the year is easy with this adorable "Months of the Year" song that takes children through the changing seasons. Keep reading for fun activities to do...
47 commentsMonths of the Year
Learning the months of the year is easy with this adorable "Months of the Year" song that takes children through the changing seasons. Keep reading for fun activities to do...
Read more Months of the Year -
 8 comments
Days of the Week
Learning the names of the days is easy with this simple Days of the Week song from The Good and the Beautiful. Find fun ways to practice putting the days...
8 commentsDays of the Week
Learning the names of the days is easy with this simple Days of the Week song from The Good and the Beautiful. Find fun ways to practice putting the days...
Read more Days of the Week -
 28 comments
Top 5 Tips for Homeschool Planning
Summer is the perfect time to plan ahead! In this blog post and short video, Jenny Phillips shares her top five tips for simple, yet effective planning for the next...
28 commentsTop 5 Tips for Homeschool Planning
Summer is the perfect time to plan ahead! In this blog post and short video, Jenny Phillips shares her top five tips for simple, yet effective planning for the next...
Read more Top 5 Tips for Homeschool Planning -

Tips for Managing Summer Screen Time
Looking for ways to manage your child’s screen time during the summer? Here are simple, practical tips to help reduce screen use, encourage creativity, and create a more joyful and...
Tips for Managing Summer Screen Time
Looking for ways to manage your child’s screen time during the summer? Here are simple, practical tips to help reduce screen use, encourage creativity, and create a more joyful and...
Read more Tips for Managing Summer Screen Time -
 3 comments
Tips for Limiting Screen Time
Technology brings a wealth of information to our fingertips, but overuse of screen time has become an issue for many families. Jenny Phillips shares her family’s journey to limiting screen...
3 commentsTips for Limiting Screen Time
Technology brings a wealth of information to our fingertips, but overuse of screen time has become an issue for many families. Jenny Phillips shares her family’s journey to limiting screen...
Read more Tips for Limiting Screen Time -
 11 comments
Homeschooling Year-Round vs Traditional
Is a traditional or year-round homeschool schedule best for your family? Watch this video from The Good and the Beautiful YouTube channel to find out some benefits and drawbacks of...
11 commentsHomeschooling Year-Round vs Traditional
Is a traditional or year-round homeschool schedule best for your family? Watch this video from The Good and the Beautiful YouTube channel to find out some benefits and drawbacks of...
Read more Homeschooling Year-Round vs Traditional -

Is Sentence Diagramming Necessary for Learning ...
Sentence diagramming can be a grammar exercise students either love or run from. Sit down with Jenny Phillips in this video and blog post as she discusses how and why...
Is Sentence Diagramming Necessary for Learning ...
Sentence diagramming can be a grammar exercise students either love or run from. Sit down with Jenny Phillips in this video and blog post as she discusses how and why...
Read more Is Sentence Diagramming Necessary for Learning Grammar? -

What Is a Solar Eclipse?
Witnessing a total solar eclipse is a once-in-a-lifetime experience for most. Learn all about total solar eclipses and how to safely view one. Then download directions for a fun solar...
What Is a Solar Eclipse?
Witnessing a total solar eclipse is a once-in-a-lifetime experience for most. Learn all about total solar eclipses and how to safely view one. Then download directions for a fun solar...
Read more What Is a Solar Eclipse? -
 2 comments
Is The Good and the Beautiful Math Rigorous?
Is The Good and the Beautiful Math Rigorous? What is rigor in mathematics, and is Simply Good and Beautiful Math rigorous enough? A rigorous homeschool math course teaches more than...
2 commentsIs The Good and the Beautiful Math Rigorous?
Is The Good and the Beautiful Math Rigorous? What is rigor in mathematics, and is Simply Good and Beautiful Math rigorous enough? A rigorous homeschool math course teaches more than...
Read more Is The Good and the Beautiful Math Rigorous? -
Count to 15
Teach children how to count to 15 through music and illustration with our delightful video on The Good and the Beautiful Kids Channel on YouTube. Then keep reading for more...
Count to 15
Teach children how to count to 15 through music and illustration with our delightful video on The Good and the Beautiful Kids Channel on YouTube. Then keep reading for more...
Read more Count to 15


4 comments
This is so awsome! It worked so well!!
This is awesome! Love the different types of volcanoes you can build! My daughter will love this! 🌋
This is so much fun!
We just did the bones and stones science
Building Volcanoes is the perfect addition to the book!